
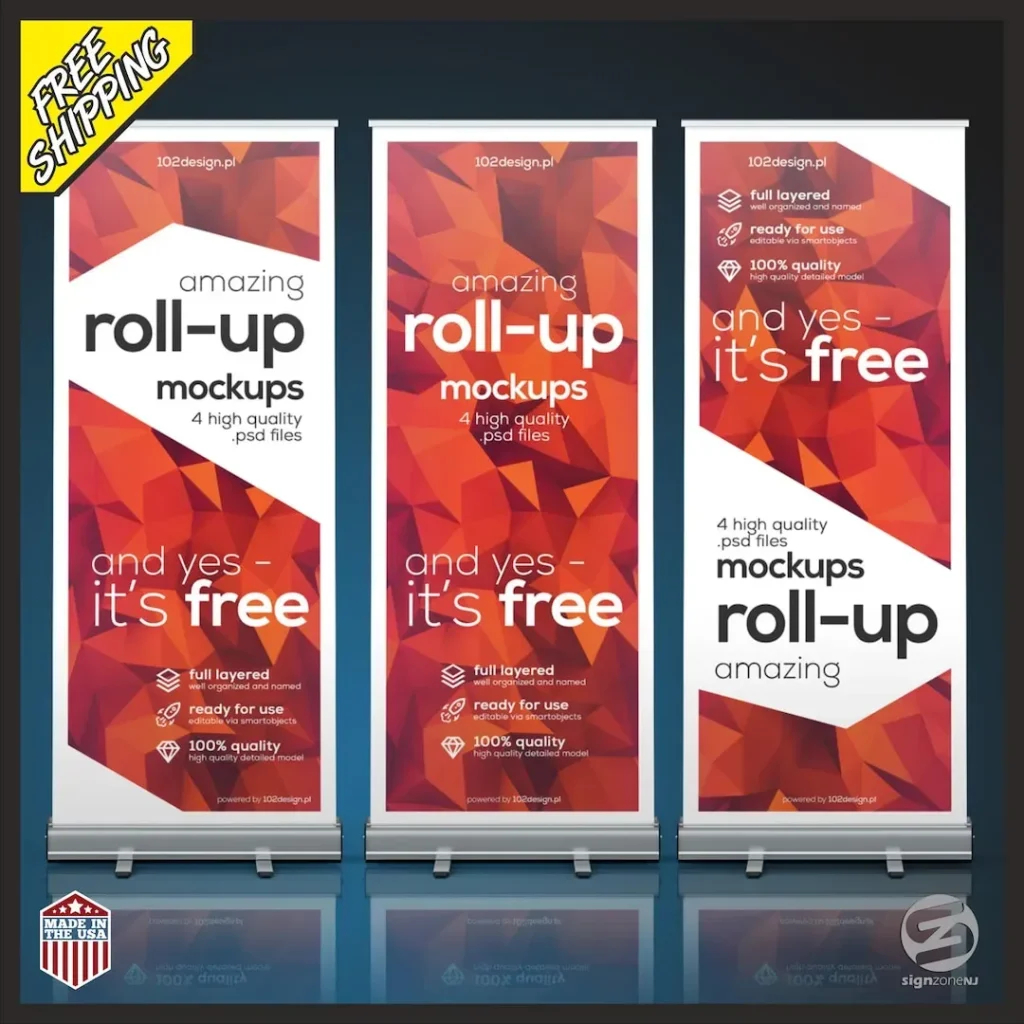
The custom roll-up banner process blends design discipline with production know-how to create banners that grab attention at a glance. From artwork to print, this approach mirrors a disciplined banner printing workflow, ensuring files are print-ready, color-accurate, and scalable for large formats. In practice, it covers essential considerations such as artwork preparation, file formats, color management, and material selection, guiding asset creation and proofing. Turnkey performance is achieved through streamlined finishing and packaging steps that safeguard durability and readability in busy environments. Understanding these stages helps designers, printers, and marketers save time, minimize rework, and deliver banners that perform across events.
In other terms, the roll-up signage lifecycle can be described as a portable display solution where artwork, materials, and hardware converge to communicate a message. You might call it a banner stand production process, emphasizing durability, fast setup, and brand-consistent graphics across venues. The same discipline applies to exhibit graphics planning, where file integrity, color fidelity, and print readiness drive reliable outcomes. On the show floor, effective trade show banner graphics and exhibition signage rely on a cohesive production workflow that aligns design intent with print realities. Framing the topic with these alternative terms helps teams reference shared standards and reuse successful blocks across campaigns.
Understanding the Custom Roll-Up Banner Process: Goals, Audience, and Venue
Successful banners begin with a clear brief: define the target audience, the display context (booth, conference, or showroom), and the primary action you want attendees to take. This framing anchors every design decision, from artwork scale to material choice, ensuring the final roll-up banner communicates your message at first glance.
This introductory phase sets the roadmap for the entire initiative, aligning production steps with marketing goals. It also lays the groundwork for cost planning, timing, and resource allocation, so teams can anticipate challenges before they arise. By framing the custom roll-up banner process around goals, audience, and venue, designers and printers stay aligned with the broader strategy and deliver banners that perform in real-world environments.
Designing for Print: From Artwork to Print in Roll-Up Banner Design and Production
A strong design brief includes brand colors, typography, logos, and a single focal message. Designers should consider legibility from the viewing distance and ensure the design remains impactful in the booth’s ambient light. This mindset helps prevent crowding and ensures the banner communicates quickly even in crowded show floors.
In this phase, the relationship between artwork and production becomes critical. Outputs must be print-ready, with correct color space, appropriate resolution, bleed, and safe margins. Color management is essential: converting to the printer’s color profile minimizes drift and ensures vivid reds, saturated blues, or bright yellows translate accurately across devices—key considerations in roll-up banner design and production.
From Artwork to Print: The Banner Printing Workflow and Color Management
The production workflow translates digital design into physical form through file preparation, proofs, material selection, printing, finishing, and quality control. Following a standard banner printing workflow reduces rework and keeps timelines predictable, which is vital for time-sensitive trade show campaigns.
Proofing is essential to catching issues early. Digital proofs paired with physical proofs on the chosen media offer a balanced approach to quality assurance. Color profiles, printer calibration, and precise registration checks help achieve color fidelity and sharp graphics, ensuring the final roll-up banner aligns with the original artwork and brand standards.
Material Selection, Finishing, and Durability for Trade Show Banner Graphics
Material choice drives durability, portability, and print quality. Roll-up banners typically use lightweight vinyl or polymer-based substrates that roll easily, with coatings or laminates to guard against scuffing, moisture, and fading. Outdoor or long-term indoor use may require UV protections and scratch resistance to maintain visual impact.
Finishing—trimming, protective laminates, and attaching to retractable hardware—affects readability and longevity. Matte finishes reduce glare in bright exhibition spaces, while satin finishes can deepen color depth in dimly lit booths. Proper finishing, along with backing materials and edge sealing, contributes to a professional presentation that withstands repeated use across events.
Quality Control, Proofing, and Consistency in Exhibition Banner Production
Consistency depends on standardizing file formats (PDF/X-1a, TIFF with layers), color profiles, and proofing steps. Version control for updates—such as changing a call-to-action or a date—helps prevent rework and maintains brand fidelity across multiple banners for campaigns and events.
Quality control should verify color consistency, edge alignment, and deployment simplicity. The banner must retract smoothly into its base without creasing or warping, and graphics should remain intact after multiple roll/unroll cycles. Adopting clear guidelines for assets and production steps supports uniform results in exhibition banner production.
Practical Tactics for Quick Turnaround: Modular Design and On-Site Setup
Modular design elements and reusable assets enable rapid reconfiguration for different venues or events. Designers can build a library of design blocks—logos, taglines, and layout grids—that can be combined and resized without sacrificing brand integrity. This approach aligns with the broader concept of efficient banner printing workflow and supports consistent trade show banner graphics across campaigns.
On-site setup and logistics benefit from thoughtful packaging, shipping protection, and a streamlined deployment plan. By pre-cutting components, providing clear assembly instructions, and testing in a controlled environment, teams can reduce setup time and minimize the risk of damage. These practical tactics are central to exhibition banner production, ensuring banners are ready to perform as soon as they arrive at a venue.
Frequently Asked Questions
In the context of the custom roll-up banner process, how does artwork move from concept to print for a trade show?
Begin with a clear design brief that specifies brand colors, logos, and typography. Ensure artwork accounts for bleed and safe areas and uses print-ready files (vector logos, high-resolution imagery). Run both digital and small-quantity proofs to catch issues before mass printing, aligning with the banner printing workflow so trade show banner graphics read clearly at a distance.
Within the custom roll-up banner process, what is the role of the banner printing workflow in ensuring quality from file prep to final output?
The banner printing workflow defines the sequence: file preparation, proofing, material selection, printing, finishing, quality control, and packaging. It safeguards color fidelity, sharpness, and durability by enforcing color management and calibration at each step. In the custom roll-up banner process, this workflow ensures consistency across campaigns.
What design considerations are essential in roll-up banner design and production to maintain legibility at distance?
Prioritize a clear, bold headline, high-contrast colors, and ample white space. Use a simple visual hierarchy and large type that remains legible from several feet away, and enforce bleed and safe-area rules so critical content isn’t cropped. Keep branding consistent with the roll-up banner design and production practices to translate well to print.
How do you select materials and finishing options for exhibition banner production under the custom roll-up banner process?
Choose lightweight, durable vinyl or polymer substrates and apply protective laminates as needed for UV and scratch resistance. Consider whether outdoor or long-term indoor use requires coatings, and pick finishes (matte or satin) that minimize glare and enhance color depth. Ensure finishing aligns with retractable hardware and packaging requirements in exhibition banner production.
What common pitfalls should brands avoid in trade show banner graphics during the custom roll-up banner process?
Avoid underestimating bleed and safe areas, using low-resolution imagery, color shifts between screen and print, skipping proofs, and overloading the design with text. Following the custom roll-up banner process and relying on proper proofs helps prevent reprints and delays.
How can teams manage file formats, color profiles, and proofs to stay efficient in the custom roll-up banner process?
Standardize outputs (PDF/X-1a or TIFF with layers), adopt printer color profiles (CMYK and device-specific profiles), and use both digital and physical proofs. Implement version control and consistent naming for artwork, proofs, and final outputs to keep the banner printing workflow smooth and repeatable.
| Stage/Area | Key Points | Notes |
|---|---|---|
| Introduction (Goals, audience, venue) | Clarify goals, audience, and venue; decide where the banner will be used; guide decisions from file setup to finishing. | Foundation for design and production. |
| Design for Print (Artwork to Print) | Create artwork from a clear brief; ensure legibility at distance; produce print-ready files; color management to minimize drift. | Bleed and safe margins; consider proofing. |
| Production Workflow (7 steps) | File prep; Proofing; Material selection; Printing; Finishing; Quality control; Packaging & delivery. | Backbone for turning design into a physical banner. |
| Design and Production Considerations | Typography legibility, strong contrast; brand-aligned, print-friendly colors; bleeding/safe areas; content at eye level; beware of top/bottom edge risk. | Plan for bleed and safe areas; ensure readability. |
| Consistency & Best Practices | Standardize formats, color profiles, proofs; version control; reusable design blocks for brand fidelity. | Cross-team collaboration; easy updates. |
| Common Pitfalls | Bleed/safe areas not considered; low-res imagery; color shifts; lack of proofs; cluttered design. | Learned from past projects to avoid reprints. |
| Practical Tips | Single strong message; high-contrast colors; design for motion and distance; multiple sizes; organized file management. | Guidance for execution across events. |
Summary
The custom roll-up banner process is a structured approach that blends design and production to create banners that perform in real-world venues. By starting with clear goals, audience, and venue, and carrying that clarity through artwork to print, material selection, finishing, and quality control, this process helps deliver banners that are legible, durable, and impactful from show floor to showroom. A disciplined workflow—from file preparation and proofing to printing and packaging—reduces errors, speeds delivery, and supports consistent branding across events. Whether you’re designing, printing, or coordinating a display, applying these principles ensures your roll-up banners consistently look their best and drive engagement in exhibitions, conferences, and corporate spaces.