
A custom roll-up banner is often the first handshake you offer attendees, and its impact can set the tone for your entire booth. Designing a compelling banner starts with clear messaging, bold visuals, and the kind of design that aligns with your overall branding, as emphasized in custom roll-up banner design concepts. Incorporating roll-up banner ideas to boost attendance can guide your layout, offer a concise value proposition, and drive just the right actions at the show. To optimize conversion, follow event banner printing tips and remember how to design a roll-up banner in practice, balancing legibility, hierarchy, and a strong call to action. For venues with crowds, a high-visibility roll-up banner for events helps you stand out from the noise and attract qualified prospects to your booth.
Frequently Asked Questions
What makes a custom roll-up banner effective at events?
An effective custom roll-up banner communicates a single, clear message within seconds. Prioritize clarity, strong contrast, and a bold focal point so passersby understand the offer at a glance. Keep branding consistent and use a concise value proposition to support a simple CTA. For ideas, consider roll-up banner ideas to boost attendance by highlighting a time sensitive benefit.
How do you design a custom roll-up banner that drives attendance?
Start with a strong headline that uses your focus keyword naturally. Use bold typography, high contrast, and minimal copy, plus a clear CTA. Include three bullets max that map to attendee needs and reinforce your value proposition. For guidance, explore how to design a roll-up banner and apply principles from custom roll-up banner design.
What size should I choose for a custom roll-up banner at a conference?
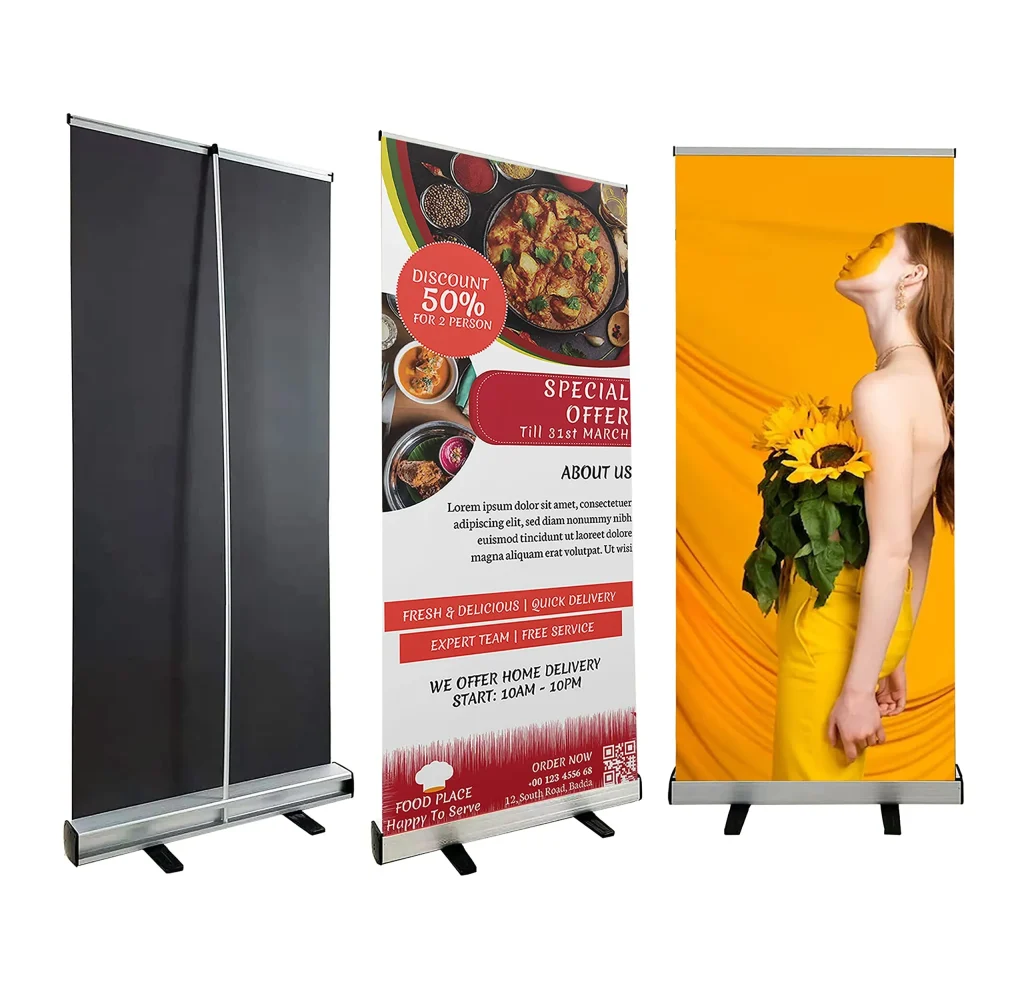
The industry standard for a custom roll-up banner is 33 inches wide by 80 inches tall (33×80), with metric equivalents such as 85 cm by 200 cm. Ensure legibility from distance, plan for bleed, and confirm finished size with your printer to avoid layout surprises. For best results, follow event banner printing tips and design with high visibility in mind.
What content should be included on a custom roll-up banner to maximize impact?
Structure your banner with a bold headline, a supporting subhead, and up to three bullets that summarize outcomes. Add a clear CTA and your logo for branding, plus a QR code if appropriate. This approach aligns with how to design a roll-up banner and draws on best practices from custom roll-up banner design.
What printing tips help ensure a high quality custom roll-up banner?
For printing, choose durable vinyl or fabric and select matte or satin finishes for readability indoors. Use UV resistant inks for outdoor use, ensure a proper bleed, and review proofs with a printer who understands roll-up construction. These tips reflect event banner printing tips and help you achieve a high visibility roll-up banner for events.
What common mistakes should you avoid with a custom roll-up banner?
Avoid too much text, poor contrast, a weak CTA, inconsistent branding, and low quality imagery. Always test legibility from several meters away and plan for on site installation and weather contingencies. These pitfalls apply to a high visibility roll-up banner for events and can undermine your custom roll-up banner.
| Key Point | Summary |
|---|---|
| Purpose | Stop passersby, convey your message in seconds, and guide people to your booth or session. |
| What makes it effective | Clarity, contrast, and hierarchy; a single compelling message readable in about three seconds. |
| Design elements | Clear focal point, bold typography, brand consistency, supportive imagery, limited copy, strong CTA, safe margins. |
| Content strategy | Benefits‑driven value proposition, concise supporting points, and CTA aligned with event goals. |
| Layout & dimensions | 33″x80″ (and 85 cm x 200 cm) as common sizes; plan for bleed and finished size. |
| Content structure | Headline with focus keyword, subhead, three bullets, CTA, and branding/contact at bottom. |
| Printing & materials | Indoor/outdoor finishes, durability, color accuracy, UV resistance for outdoors. |
| Typography & readability | Large font sizes, 1:6–1:8 line length, avoid heavy all-caps, place focus keyword strategically. |
| Common pitfalls | Too much text, poor contrast, weak CTA, inconsistent branding, low‑quality imagery. |
| Creation process | Define objective, gather content, test legibility from distance, export with bleed, proof before printing. |
| Budget & timeline | Plan for design and proofing (~2 weeks) and printing (~1 week); consider multi-banner logistics. |
| Checklist | Objectives, bold keyword headline, supporting bullets, clear CTA, branding, size/bleed checks, proofs. |