
Custom roll-up banner design begins long before the printer fires up, with a clear objective, a firm understanding of the audience, and a message that can be read at a glance. A well-crafted banner is more than art; it’s a compact communication tool that distills your brand, value proposition, and call to action into a portable display—perfect for custom banner printing. With the right approach to concept and execution, this banner becomes a powerful ambassador at trade shows, conferences, retail floors, and events, supported by reliable banner stand materials and trade show banner stands. For readability, we focus on layout, contrast, and typography, while ensuring the design remains adaptable to pull-up banner dimensions. In short, this introductory approach shows how a well-planned custom roll-up banner can attract attention, deliver a clear message, and drive action at busy venues.
In other words, this portable display concept—often referred to as a pull-up banner, a pop-up display, or signage solution—helps brands move from idea to production. These versatile exhibits work at conferences and exhibitions by combining visuals, materials, and messaging into a single, easy-to-set package. When planning, teams consider print-ready file setup, the ideal banner stand materials, and the exact pull-up banner dimensions to maintain legibility from a distance. To keep content discoverable, you can reference related terms like roll-up banner design, custom banner printing, and trade show banner stands, which signal topic depth to search engines. Ultimately, a well-executed display communicates purpose quickly, reinforces branding, and supports on-site engagement.
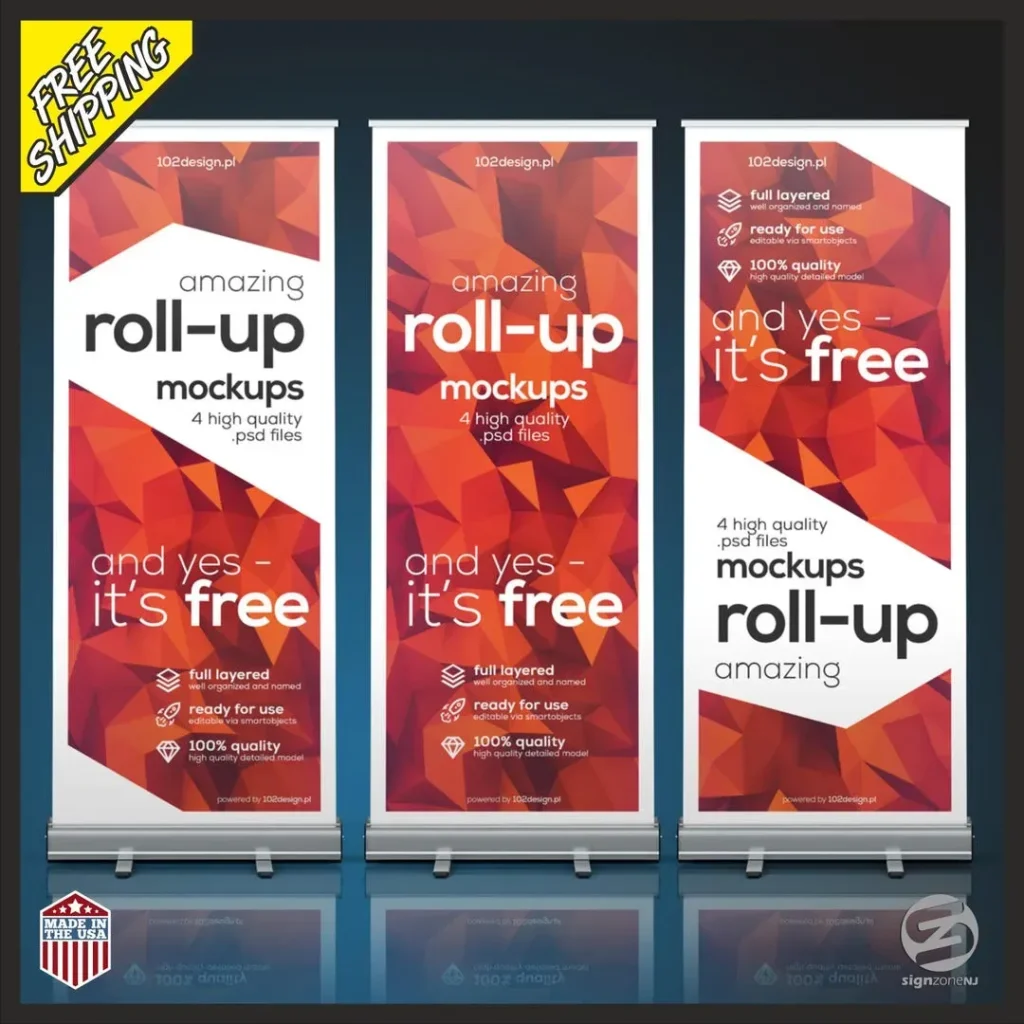
Custom Roll-Up Banner: From Objective to Visible Impact
A successful custom roll-up banner begins with a clear objective, a solid understanding of the target audience, and a message that can be absorbed at a glance. This approach mirrors the principles of roll-up banner design, where clarity and emphasis drive immediate recognition in crowded event spaces. By defining what you want attendees to do—visit your booth, scan a QR code, or learn a key benefit—you set the foundation for copy length, visual hierarchy, and overall layout. In practice, this means translating strategy into a compact, portable display that communicates your brand, value proposition, and call to action at a glance.
From concept to production, the objective informs every design decision, including the pull-up banner dimensions you’ll work within (commonly 33 inches wide by about 80 inches tall) and the materials that will hold up in transit. This is where custom banner printing comes into play: proofs, color accuracy, and material choices ensure your banner remains readable and compelling from several meters away, even in bustling conference venues. A well-defined objective turns a banner into a powerful ambassador that travels with your team to trade shows, conferences, and retail floors.
Design Foundations: Readability, Hierarchy, and Brand Consistency
Readability at a distance is the core requirement of any trade show banner. The banner design should feature large, legible typefaces, high-contrast color pairings, and a single dominant message that can be read in seconds as attendees walk by. Visual hierarchy guides the eye from the headline to supporting details and finally to the call to action, ensuring the most important information is encountered first. This focus is central to effective banner stand materials and the systems used to present information clearly at busy events.
Brand consistency reinforces recognition and trust across venues. Use your established color palette, typography, and logo placements to maintain a cohesive look with other marketing assets. Imagery should scale cleanly, and color psychology should support legibility against venue lighting. When these elements align with the banner design principles, the result is a display that looks deliberate, professional, and unmistakably yours, whether viewed up close or from a distance.
Material Choices and Printing: Banner Stand Materials and Methods
Material selection—vinyl versus fabric—significantly impacts durability, appearance, and cost. Vinyl banners offer strong color saturation and resilience in indoor environments, while fabric banners deliver a premium, crease-resistant finish that many brands associate with a high-end look. Each material pairs with specific printing technologies, such as dye-sublimation or wide-format digital printing, to produce sharp graphics and robust color reproduction aligned with your brand standards.
The printing method should support high DPI output to keep text crisp and imagery vibrant whether viewed up close or from across a room. Request proofs to verify color accuracy and readability before final production. This step ensures that roll-up banner design and material choices translate into a faithful, durable printed piece that can withstand frequent transport, multiple show cycles, and the rigors of busy venues.
Sizing, Layout, and File Preparation for Peak Performance
Standard roll-up banners commonly come as 33 inches wide by 80 inches tall, with variations like 85 cm by 200 cm in other markets. When planning the layout, keep critical elements within safe margins to accommodate device safe areas and hardware at the top and bottom. Using vector graphics for logos and typography guarantees crisp output at any size, while high-resolution raster images (ideally 300 DPI at final print size) ensure images stay sharp as they scale.
Prepare print-ready files in the correct color mode (often CMYK) and embed or outline fonts to avoid substitutions. Include proper bleed to prevent white edges after trimming. A concise copy strategy supports legibility from different distances, typically featuring a bold headline at the top, a supporting line beneath, and a simple call to action at the bottom.
From Proof to Production: Timelines, Proofs, and Setup
Before production begins, request a proof to verify layout, color accuracy, and overall composition. For brands where color fidelity is critical, specify Pantone references and obtain a proof on the same material intended for final production. This proofing step connects to the broader practice of custom banner printing, ensuring the final banner aligns with brand guidelines and event expectations.
Turnaround times vary by printer and project size. A single banner might move quickly, while campaigns with multiple variations require more planning, proofs, and shipping logistics to the venue. Align production timelines with your trade show calendar to accommodate last-minute tweaks and ensure on-time delivery to your venue or on-site installation.
Maintenance, Longevity, and Reusability Across Events
A banner’s value rises with how it’s maintained and reused across events. Proper setup, secure mounting, and careful handling extend the life of the roll-up banner, while a protective travel case helps prevent damage during transport. Regular cleaning and gentle storage practices preserve visual fidelity, ensuring the banner remains readable and visually appealing across repetitions.
Sustainability and efficiency can guide long-term planning. Consider eco-friendly inks and recyclable banner stand materials where possible, and implement a reuse plan that updates artwork while preserving the same stand and case. By treating your banner as a reusable marketing asset, you reduce waste and improve consistency of presence at conferences, trade shows, and retail activations.
Frequently Asked Questions
What is a custom roll-up banner and how does roll-up banner design impact readability at events?
A custom roll-up banner is a portable, branded display tailored to your goals. The roll-up banner design should prioritize a single, clear message, large legible type, high contrast, and a strong visual hierarchy so the message is readable from several meters away. Typical sizes to consider include 33 inches wide by 80 inches tall.
What materials should I choose for a custom roll-up banner, and what are banner stand materials?
Common choices are vinyl and fabric. Vinyl provides durability and sharp color, while fabric offers a premium finish and wrinkle resistance. Banner stand materials typically include aluminum frames or other sturdy metal hardware, chosen for stability and long‑term reuse.
How should I plan the content and layout for a trade show banner using a custom roll-up banner and trade show banner stands?
Start with a clear objective and brand-aligned visuals. Use a bold headline at the top, a supporting subhead, minimal body copy, a central image, and a clear call to action. Ensure safe margins to accommodate hardware and position the banner within high-traffic areas for maximum impact.
What are pull-up banner dimensions I should consider for a custom roll-up banner, and how should I layout for legibility?
Standard pull-up banner dimensions include about 33 inches in width and around 80 inches in height (often expressed as 85 cm by 200 cm). Layout rules: place the most important message near the top, keep copy minimal, use large type for readability, and ensure a strong contrast between text and background.
How does custom banner printing affect color accuracy for a roll-up banner and what should I ask for in proofs?
Custom banner printing typically uses dye-sublimation or wide-format printing on vinyl or fabric. To ensure color accuracy, request proofs on the same material, specify CMYK color mode, and provide Pantone references if exact colors matter. Verify color fidelity and readability before final production.
What maintenance tips help a banner stand materials based custom roll-up banner last across multiple events?
Use a sturdy roll-up banner stand with a weighted base, store the banner in its protective case rolled with the artwork facing inward, and clean vinyl with mild soap while avoiding harsh cleaners. For fabric, handle gently to prevent creasing and store flat or rolled; reuse artwork updates with the same stand to maximize value.
| Aspect | Key Points | Notes/Examples |
|---|---|---|
| Objective, Audience & Core Message | Define a crisp objective; identify the audience; craft a concise core message; three goals: convey the message, reflect brand identity, and prompt action. | Gather inputs from stakeholders (marketing, product, sales, design); typical roll-up width ~33 inches; height up to ~84 inches; translate ideas into visuals. |
| Copy Strategy & Layout | Keep copy short and legible from distance; prioritize a bold headline, supporting line, and minimal body; use a clear hierarchy (headline, subhead, body); include a simple CTA. | Plan safe margins and safe area; use vector logos; deliver final artwork at 300 DPI; output in CMYK; embed fonts or outlines; provide bleed. |
| Design Foundations | Readability at a glance; strong visual hierarchy; brand consistency; scalable imagery; high color contrast. | Large type, minimal copy; bold headline; cohesive brand look; visuals that stay sharp at banner size. |
| Materials & Printing | Vinyl vs fabric; durability and print quality; color saturation; handling considerations. | Vinyl: durable, water-resistant, strong color; may curl edges. Fabric: premium look, less creasing, softer print. Printing: dye-sublimation or wide-format; verify proofs for color accuracy. |
| Sizing, Layout & File Prep | Common size is 33×80 inches (or 85 cm x 200 cm); keep critical elements within safe margins; use vector logos; prepare raster images at high resolution (300 DPI); output in CMYK; embed fonts or outlines; include bleed. | Provide print-ready files; keep critical elements away from trim; ensure color accuracy; plan layout with standard margins. |
| Proofing, Production & Timelines | Request proofs to verify layout, color, and readability; specify Pantone or color profiles; plan production and shipping timelines. | Proofs help catch issues early; plan days to weeks depending on campaign scale; coordinate with printer and venue shipping. |
| Setup, Maintenance & Sustainability | Ensure proper mount height, lighting, stability, protection; simple cleaning and long-term storage; consider sustainability options. | Eye-level height ~60-70 inches; avoid glare; use weighted base; protective travel case; reuse plans and eco-friendly inks/materials to reduce waste. |
Summary
A well-executed custom roll-up banner is a compact, high-impact marketing asset that defines how you present your brand at events. It starts with a clear objective and audience understanding, then translates into a readable, concise message, strong design, and durable materials. The process covers design foundations, material choices, sizing and file preparation, production proofs, and practical setup and maintenance. By following the guidance in this guide, you ensure readability from a distance, consistent branding, and a durable display that delivers repeated exposure across venues. Investing in thoughtful concept-to-creation planning makes your roll-up banner an effective ambassador for your brand at every event.