
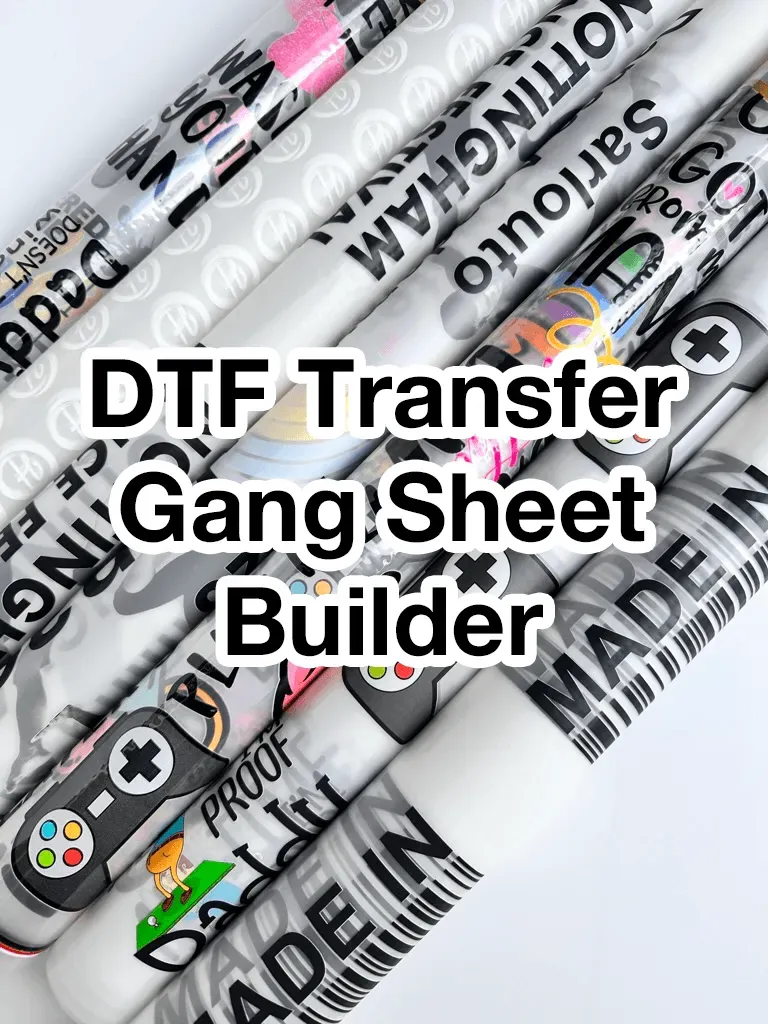
DTF Gangsheet Builder reshapes how designers approach apparel printing, offering a dedicated system for packing multiple designs onto a single sheet. By structuring layouts with this tool, users save time, reduce waste, and maintain color integrity across batches. It guides you through layout techniques and provides templates to maximize material usage. Designed for scalability, it supports DTF printing layouts that stay consistent from run to run. If you are aiming for smooth production and predictable results, mastering this tool is a smart first step toward improved efficiency.
Viewed through the lens of a sheet-planning engine, the DTF gangsheet approach centers on placing several designs on one substrate with precise spacing, margins, and orientation. It converts creative ideas into production-ready files by organizing artwork on a single canvas, enabling batch printing with less waste. The workflow favors a template-driven approach, where blocks maintain density and balance across many garments. In practice, this mindset emphasizes grid-based packing, color coordination, and export-ready layouts that translate smoothly from screen to fabric. Overall, such a setup supports print layout optimization and scalability.
1) Maximizing Material Utilization with the DTF Gangsheet Builder
The DTF Gangsheet Builder enables you to arrange multiple designs on a single sheet with precise spacing, margins, bleeds, and orientation, turning creative ideas into production-ready files. By leveraging grid-based packing and layout templates, you can maximize fabric real estate and minimize waste, which translates to lower material costs per batch and faster turnaround times. This approach aligns naturally with the goal of print layout optimization, ensuring every inch of the sheet serves a purpose.
Utilizing the DTF Gangsheet Builder also supports scalable workflows. You can batch prints, reproduce layouts across campaigns, and maintain a consistent baseline across all shirts. The tool’s ability to visualize how each design sits on final fabric helps preserve color integrity while pushing density in a controlled, repeatable manner.
2) Advanced Artwork Layout Techniques for Consistent DTF Printing Layouts
Effective layouts hinge on sophisticated artwork layout techniques that manage space and color risk. Start with grid planning and alignment to create predictable export results across runs. Bleed and safe zones ensure edge-to-edge transfers stay within printable areas, while orientation and rotation options help you pack designs more densely without compromising legibility.
Additional techniques like tiling, mirroring, spacing, and margins further optimize the gangsheet. When combined with careful color management, they reduce alignment issues during transfer and curing. These practices are essential for robust DTF printing layouts, helping you deliver uniform results even as designs vary in size and complexity.
3) Streamlining Production with Layout Templates for DTF Projects
Layout templates form the backbone of repeatable success in DTF projects. By saving a sheet size, fixed grid, predefined margins, bleeds, and safe zones as a template, you create a reusable framework that accelerates design placement while preserving consistency. A clear naming convention and placeholder blocks further simplify the workflow, making it easier to scale from one-off runs to multi-design campaigns.
With templates, you can quickly drop in new artwork, adjust sizes, and maintain the same composition across variations. Reusing templates across batches not only speeds production but also reinforces brand consistency, ensuring that each design aligns with established spacing, density, and color relationships.
4) Color Management as a Core of Print Layout Optimization
Color accuracy is critical in DTF printing layouts. A calibrated workflow starts with color-managed artwork, continues with exports that preserve color data, and includes soft-proofing against the target fabric. Designing layouts with color blocks that translate cleanly from screen to garment helps prevent shifts and bleed between adjacent designs.
Effective color management requires planning for separations, minimizing shifts during transfer and curing, and choosing print modes that respect the printer’s capabilities. When color is handled thoughtfully within the layout, you achieve more reliable results and reduce the need for rework, contributing to overall print layout optimization.
5) Practical Workflow: From Design to Production on a Single Gangsheet
A typical workflow starts with creating a gangsheet template for your sheet size, including fixed margins and bleed values. Import designs and position them on the grid using the layout templates, adjusting orientation to maximize packing density while preserving design integrity. This approach minimizes setup time and standardizes the initial placement for every run.
Next, verify consistent spacing and alignment across all placements, assign color profiles aligned with your printer, and export a single file containing all designs positioned on the gangsheet. The final step is to print and then separate each design accurately for transfer, ensuring a smooth transition from digital layout to physical garment.
6) Common Pitfalls and Best Practices for Long-Term DTF Gangsheet Success
Common issues include misalignment between designs, insufficient or excessive bleed, color bleed between adjacent blocks, and inconsistent scale across designs. Addressing these problems involves locking grid settings, validating bleed values, and enforcing fixed scaling rules within templates. Proactively checking these factors prevents drift and waste across production runs.
Best practices for longevity include building a library of layout templates for recurring design families, using meaningful file naming and versioning, and validating each design in the context of the final garment. Maintaining a production log and keeping templates up to date with equipment changes helps reduce waste and sustain high-quality DTF gangsheet outputs over time.
Frequently Asked Questions
What is the DTF Gangsheet Builder and how does it optimize DTF printing layouts?
The DTF Gangsheet Builder is a layout engine that arranges multiple designs on a single sheet with precise spacing, margins, bleeds, and orientation. It turns ideas into production-ready files, enables batch prints, minimizes wasted area, and speeds the workflow. It also supports reusable layout templates to scale future jobs.
How do layout templates in the DTF Gangsheet Builder improve consistency and efficiency for DTF printing layouts?
Layout templates define sheet size, grid, margins, bleeds, and safe zones. Once saved, you can drop in new artwork for campaigns while preserving the same composition, reducing setup time and ensuring consistent results across runs.
What artwork layout techniques can you apply with the DTF Gangsheet Builder?
Key techniques include grid planning, bleeds and safe zones, orientation and rotation, tiling and mirroring, spacing and margins, and color management. These practices maximize packing density, minimize waste, and keep artwork integrity on the gangsheet.
How does print layout optimization work in DTF printing layouts when using the DTF Gangsheet Builder?
Print layout optimization arranges designs to maximize material usage and minimize waste while respecting printer tolerances. Use fixed margins, even gaps, and grid snapping to keep layouts uniform and export-ready for production.
How should color be managed in DTF printing layouts with the DTF Gangsheet Builder?
Follow a calibrated, color-managed workflow: design in a color-managed palette, export in a data-preserving format, soft-proof colors against the target fabric, and assign color profiles per design to avoid color bleed and misregistration on transfer.
What common pitfalls should you avoid when using the DTF Gangsheet Builder and how can you prevent them?
Common issues include misalignment, bleeds not printing, color bleed between designs, and inconsistent scale. Prevent them by locking the grid, confirming bleed in exports, enforcing fixed scaling via templates, and validating each design within the gangsheet framework.
| Aspect | Key Points |
|---|---|
| What is the DTF Gangsheet Builder? |
|
| Why use a gangsheet approach? |
|
| Advanced Artwork Layout Techniques |
|
| Working with Layout Templates |
|
| Color Management and Printing Layouts |
|
| Practical Workflow |
|
| Common Pitfalls and How to Avoid Them |
|
| Best Practices for Long-Term Success |
|
Summary
[DTF Gangsheet Builder] is a powerful tool for creating efficient, scalable, and repeatable artwork layouts for apparel. This descriptive overview highlights how it organizes multiple designs on a single sheet, optimizes space with grids, bleeds, and safe zones, and supports templates and color management to ensure consistent results across batches. By following structured workflows and best practices, designers can accelerate production, reduce material waste, and maintain design integrity across their entire line of apparel. Embrace templates, experiment with orientation and spacing, and let the gangsheet approach transform your DTF printing workflow.