
Embroidery design is more than threads and stitches; it’s a creative process that blends planning, technique, and patience. If you’re just starting, this beginner-friendly guide covers the essentials you need to start, including basic stitches and transferring a pattern. With clear steps and practical examples, you’ll feel confident tackling your first fabric project. The content is optimized for SEO, offering practical advice on how to embroider on fabric and guiding you toward the right tools. As you practice, you’ll build momentum for more complex designs and discover your personal style.
Viewed through the lens of needlework and fabric art, this craft becomes decorative stitching that transforms plain textile into personal expression. For newcomers, practical guidance on hand embroidery for beginners, basic stitches, and color choices helps you build confidence without overwhelm. A concise stitching guide for embroidery and clear notes on embroidery hoop techniques offer reliable steps to manage fabric, tension, and pattern transfer. By using alternative terms such as needlework, threadwork, and textile embellishment, you reinforce the same ideas while aligning with search intent from an LSI perspective.
1. Planning Your Embroidery Design: From Concept to Craft
A successful embroidery design begins long before the first stitch. It starts with a clear concept of what you want to create, where the stitches will go, and how color and fabric interact. This planning phase helps you translate an idea into a practical pattern, making the entire process smoother for beginners and seasoned makers alike.
Visualizing your piece also supports a steady workflow when you learn how to embroider on fabric. By outlining the design, choosing a color palette, and deciding on stitching techniques, you build confidence and establish a repeatable process—key for anyone pursuing hand embroidery for beginners who want consistent results.
2. Choosing Materials for a Smooth Start in Embroidery
Selecting the right materials sets the tone for your embroidery design journey. Start with a smooth, even-weave fabric like cotton or linen, a taut embroidery hoop, and color-rich embroidery floss. Beginner-friendly threads, a versatile needle, and sharp scissors create a comfortable baseline for your stitching practice.
Understanding embroidery hoop techniques and how to manage fabric tension is essential for clean results. With the right tools, you can focus on the craft rather than fighting fabric shift, which makes this aspect particularly important for beginners exploring subjects like beginner embroidery stitches and how to progress with more complex designs.
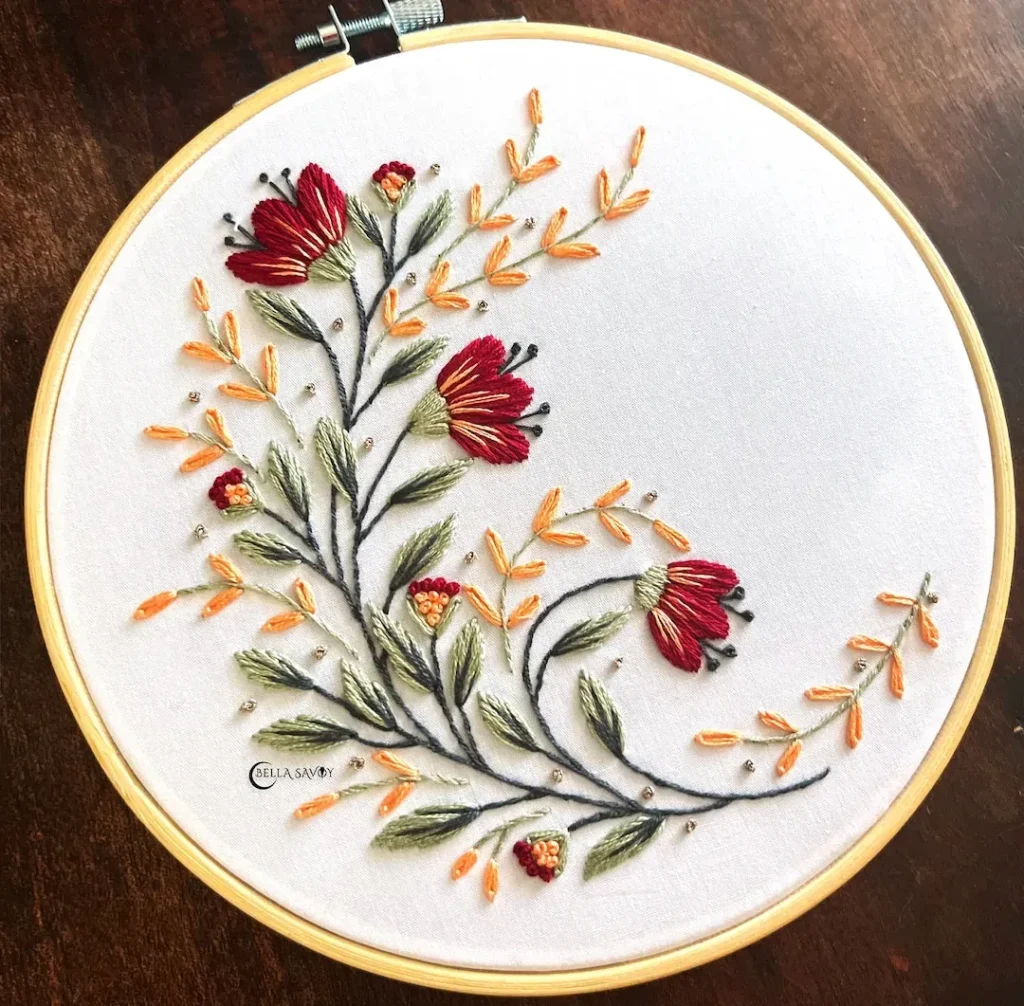
3. Foundational Stitches for Beginners: Master the Core Techniques
Mastering foundational stitches is the cornerstone of any embroidery design. Start with simple running and backstitch to form clean outlines, then progress to satin stitches for solid fills and stem stitches for curved lines. French knots add subtle texture and detail, enriching your early projects.
Practicing these stitches builds a reliable stitching guide for embroidery and a sense of thread control. As you gain comfort, you’ll see how the interplay of tension, stitch length, and fabric grip affects the final look—an essential realization for hand embroidery for beginners aiming to achieve professional-looking results.
4. Transferring Your Design to Fabric: Practical Methods
Transferring a design accurately is a critical step in the embroidery design process. Whether you trace from paper, use carbon transfer, water-soluble pens, or print patterns for tracing, choose a method that keeps lines visible during stitching and easy to remove later.
Each transfer technique has its place depending on complexity and fabric. Understanding how to choose between tracing, carbon, or water-soluble options helps you maintain alignment and reduces pattern distortion, which is especially helpful when practicing with embroidery hoop techniques on slippery fabrics.
5. Step-by-Step Approach to Your First Project: Plan, Stitch, Finish
Begin with a simple motif—like a small flower or leaf cluster—and plan colors with contrast against the fabric. Prepare the fabric in the hoop, transfer the design, and set a comfortable starting point for your first stitches. This approach keeps your project manageable and gives you a tangible sense of progress.
Follow a logical sequence: outline with a backstitch, fill shapes with satin stitches, and add texture with stem stitches or French knots as needed. This step-by-step method aligns with a clear stitching guide for embroidery and makes the learning curve approachable for those new to embroidery design or exploring how to embroider on fabric for the first time.
6. Troubleshooting, Finishing, and Growing as an Embroiderer
Even careful planning can meet challenges like uneven tension, thread fraying, or pattern shifts. When stitches pucker, ease the tension slightly and re-check alignment. If threads begin to fray, trim cleanly and rethread to maintain a tidy back and front surface.
Finishing touches matter: tie off threads securely, weave them under existing stitches, and consider framing with acid-free materials to preserve color and texture. As you grow, vary fabrics, threads, and hoop sizes, and seek out tutorials or local workshops to enhance your embroidery design skills—continuing the journey from beginner embroidery stitches to more advanced work.
Frequently Asked Questions
What is embroidery design and how can beginners start with beginner embroidery stitches?
Embroidery design is a creative blend of planning, technique, and finishing a decorative piece. To begin, pick a simple embroidery design, use smooth fabric and a taut embroidery hoop, practice essential beginner embroidery stitches (running stitch, backstitch, satin stitch, stem stitch, French knot) on scrap fabric, then transfer your pattern with tracing or a water-soluble pen and secure the threads when you’re ready to stitch.
How to embroider on fabric for a simple embroidery design?
Start by preparing fabric (smooth, even weave) and placing it in a tight embroidery hoop. Then transfer a simple embroidery design, and begin with basic stitches along the outline—backstitch or running stitch—before filling shapes with satin stitch. Check tension as you go and secure threads when finished.
What is the best stitching guide for embroidery beginners?
Use a simple stitching guide for embroidery that covers five foundational stitches: running stitch, backstitch, satin stitch, stem stitch, and French knot. Practice on scrap fabric, keep stitches evenly spaced, and maintain consistent tension to develop a solid embroidery design technique.
What materials do I need for a beginner embroidery design?
Essential starter kit for an embroidery design: fabric (cotton or linen), an embroidery hoop, threads (6-strand floss split as needed), a sharp embroidery needle, scissors and marking tools, plus optional stabilizers or a needle threader. These basics help you practice controlling thread tension and fabric grain as you learn.
How can I use embroidery hoop techniques to improve my stitches?
Keep the fabric taut in a hoop to maintain flat stitches and uniform tension. Check hoop tension regularly, reposition the hoop to follow curves, and use consistent orientation to prevent distortion. This embroidery hoop technique helps you achieve crisper lines and even fills in your design.
What are effective methods for transferring an embroidery design onto fabric for hand embroidery for beginners?
Choose a transfer method you’re comfortable with: tracing from paper with a light pencil, carbon transfer, or a water-soluble pen. For hand embroidery for beginners, start with a simple outline to focus on stitch technique, then you can erase lines later. You can also print patterns on tissue paper and trace onto fabric.
| Section | Key Points | Notes / Tips |
|---|---|---|
| What is embroidery design? | More than stitching; a creative process blending planning, technique, and patience. A beginner guide covers basics like stitches, transferring patterns, and finishing touches. | Build confidence for starting your first project. |
| Introduction | Start with a plan; envision the final piece, stitch placement, and color interaction. The goal is to demystify the craft with a practical, repeatable process. | Progress from outlines to more detailed embroidery designs reflecting personal style. |
| Materials | Fabric, embroidery hoop, threads, needle, scissors/marking tools, and optional aids (thimble, needle threader, stabilizer). | Quality materials affect enjoyment and final look. |
| Foundational stitches | Running, Backstitch, Satin, Stem, and French Knot; practice on scrap to learn tension and consistency. | A strong foundation supports any embroidery project. |
| Transferring design | Methods include tracing from paper, carbon transfer, water-soluble pens, and printed patterns; start with simple motifs. | Choose method based on comfort and design complexity. |
| First project steps | Plan motif, prepare fabric/hoop, transfer design, begin stitching, fill/details, check continuity, finish and secure. | Maintain even tension; step back to assess progress. |
| Common challenges | Uneven tension, thread fraying, design shift, and fading transfer marks. | Tips: adjust hoop tension, trim ends, re-mark as needed. |
| Practice project | Create a tiny motif with 2-3 colors to practice color changes and shading; complete the full workflow. | Solid foundation before tackling more complex patterns. |
| Color and texture | Color theory; start with a limited palette and explore shading using lighter/darker tones; mix textures (satin for fills, stem for lines, French knots for highlights). | Fusion of color and texture makes the design feel alive. |
| Care and display | Cleaning, fraying prevention, storage, and framing considerations to preserve stitches and colors. | Proper care protects your work for years. |
| Growing as embroiderer | Practice with different fabrics, thread weights, and hoop sizes; attend workshops or follow experienced stitchers for tips on technique and design development. | Over time, progress to more complex embroidered designs. |
Summary
Conclusion: Embroidery design is a rewarding craft that blends technique, artistry, and patience. By starting with the essentials—careful material selection, foundational stitches, a thoughtful transfer method, and a simple project—you’ll build a solid groundwork for future embroidery projects. Use this guide to cultivate consistent practice, develop an eye for color and texture, and gradually tackle more ambitious embroidered designs.